5 Watter BFO and First Receiver stages
About
This post is a continuation in the series documenting my build of the 5 Watter Organic VCXO Transceiver.
BFO Build Notes
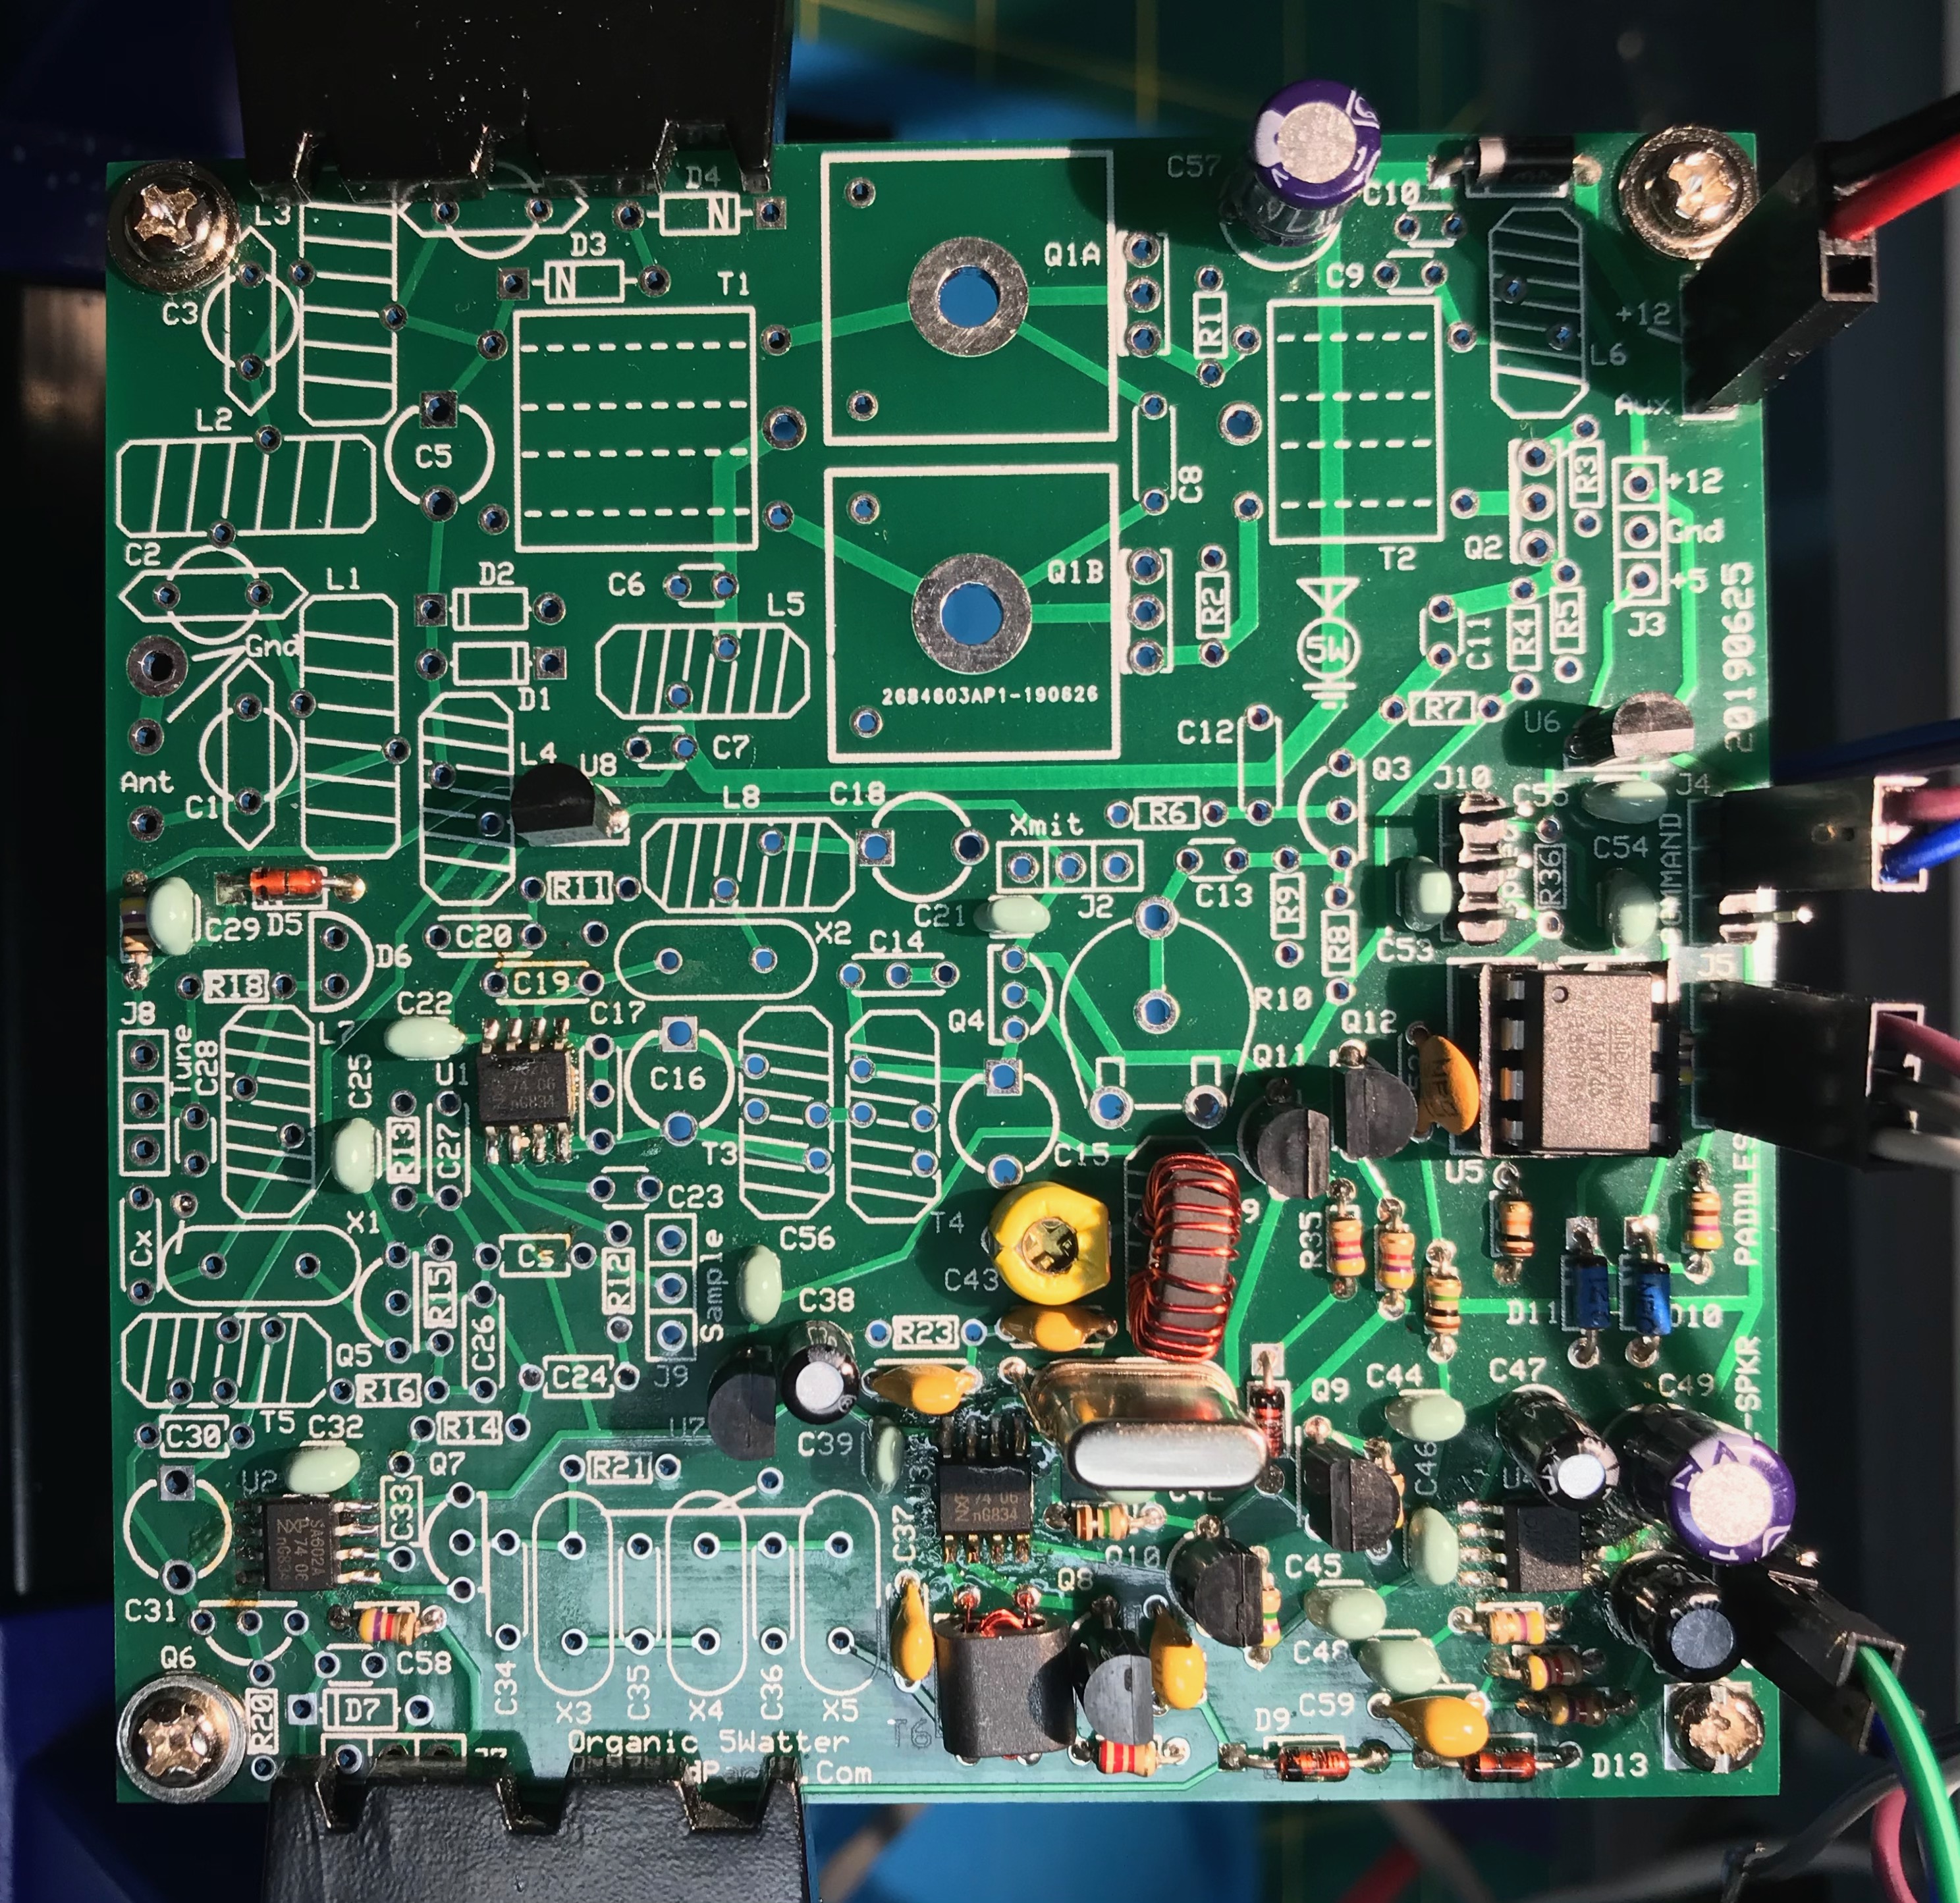
Chuck’s notes mention that he accidently skipped this section and came back to it. Therefore, pictures included parts we haven’t installed yet.
When installing C43, the flat side goes to the square pad.
W8DIZ has a great tutorial on how to wind toroids.
Go to section 10 of the kit (W8DIZ) instructions for lengths and kinds of wire to use for each toroid.
I went back and reread Chapter 1, the overview in the K7QO guide. It was then that I realized that the stages we are building in correspond to the block diagram on page 17.
When winding the binoculor T6, I did a quick tin of the ends on the 2 turn wire so I could keep them identified when I wound them. Failure to strip enamel off of wire is a very common failure. I use sand paper to do a rough removal before stripping/tinning the wire. After soldering into place, check for continuity with a meter.
During the testing, I set my function generator up for 8.064Mhz and a sine wave output. See my workbench for specifics.
I used a browser based audio spectrum generator / analyzer to set up the BFO tone. I think this won’t be called for until later.
I connected the audio output of the 5 Watter to my computer running the spectrum analyzer.
First, I configured the analyzer with the built in tone generator and set it for 600Hz. Then, I adjusted the display so that I would have a reference point for where the 600Hz peak was being displayed. Next, turned on the output of the function generator (to a dummy load with a bit of wire coming off of it). I then adjusted C43 so that the pitch heard and displayed matched up to what I was see with the earlier 600Hz setting. I am sure this is all pre-emptive as the real calibration will happen later in this project.
RF Gain, First RX Mixer, IF Amp, and Crystal Filter
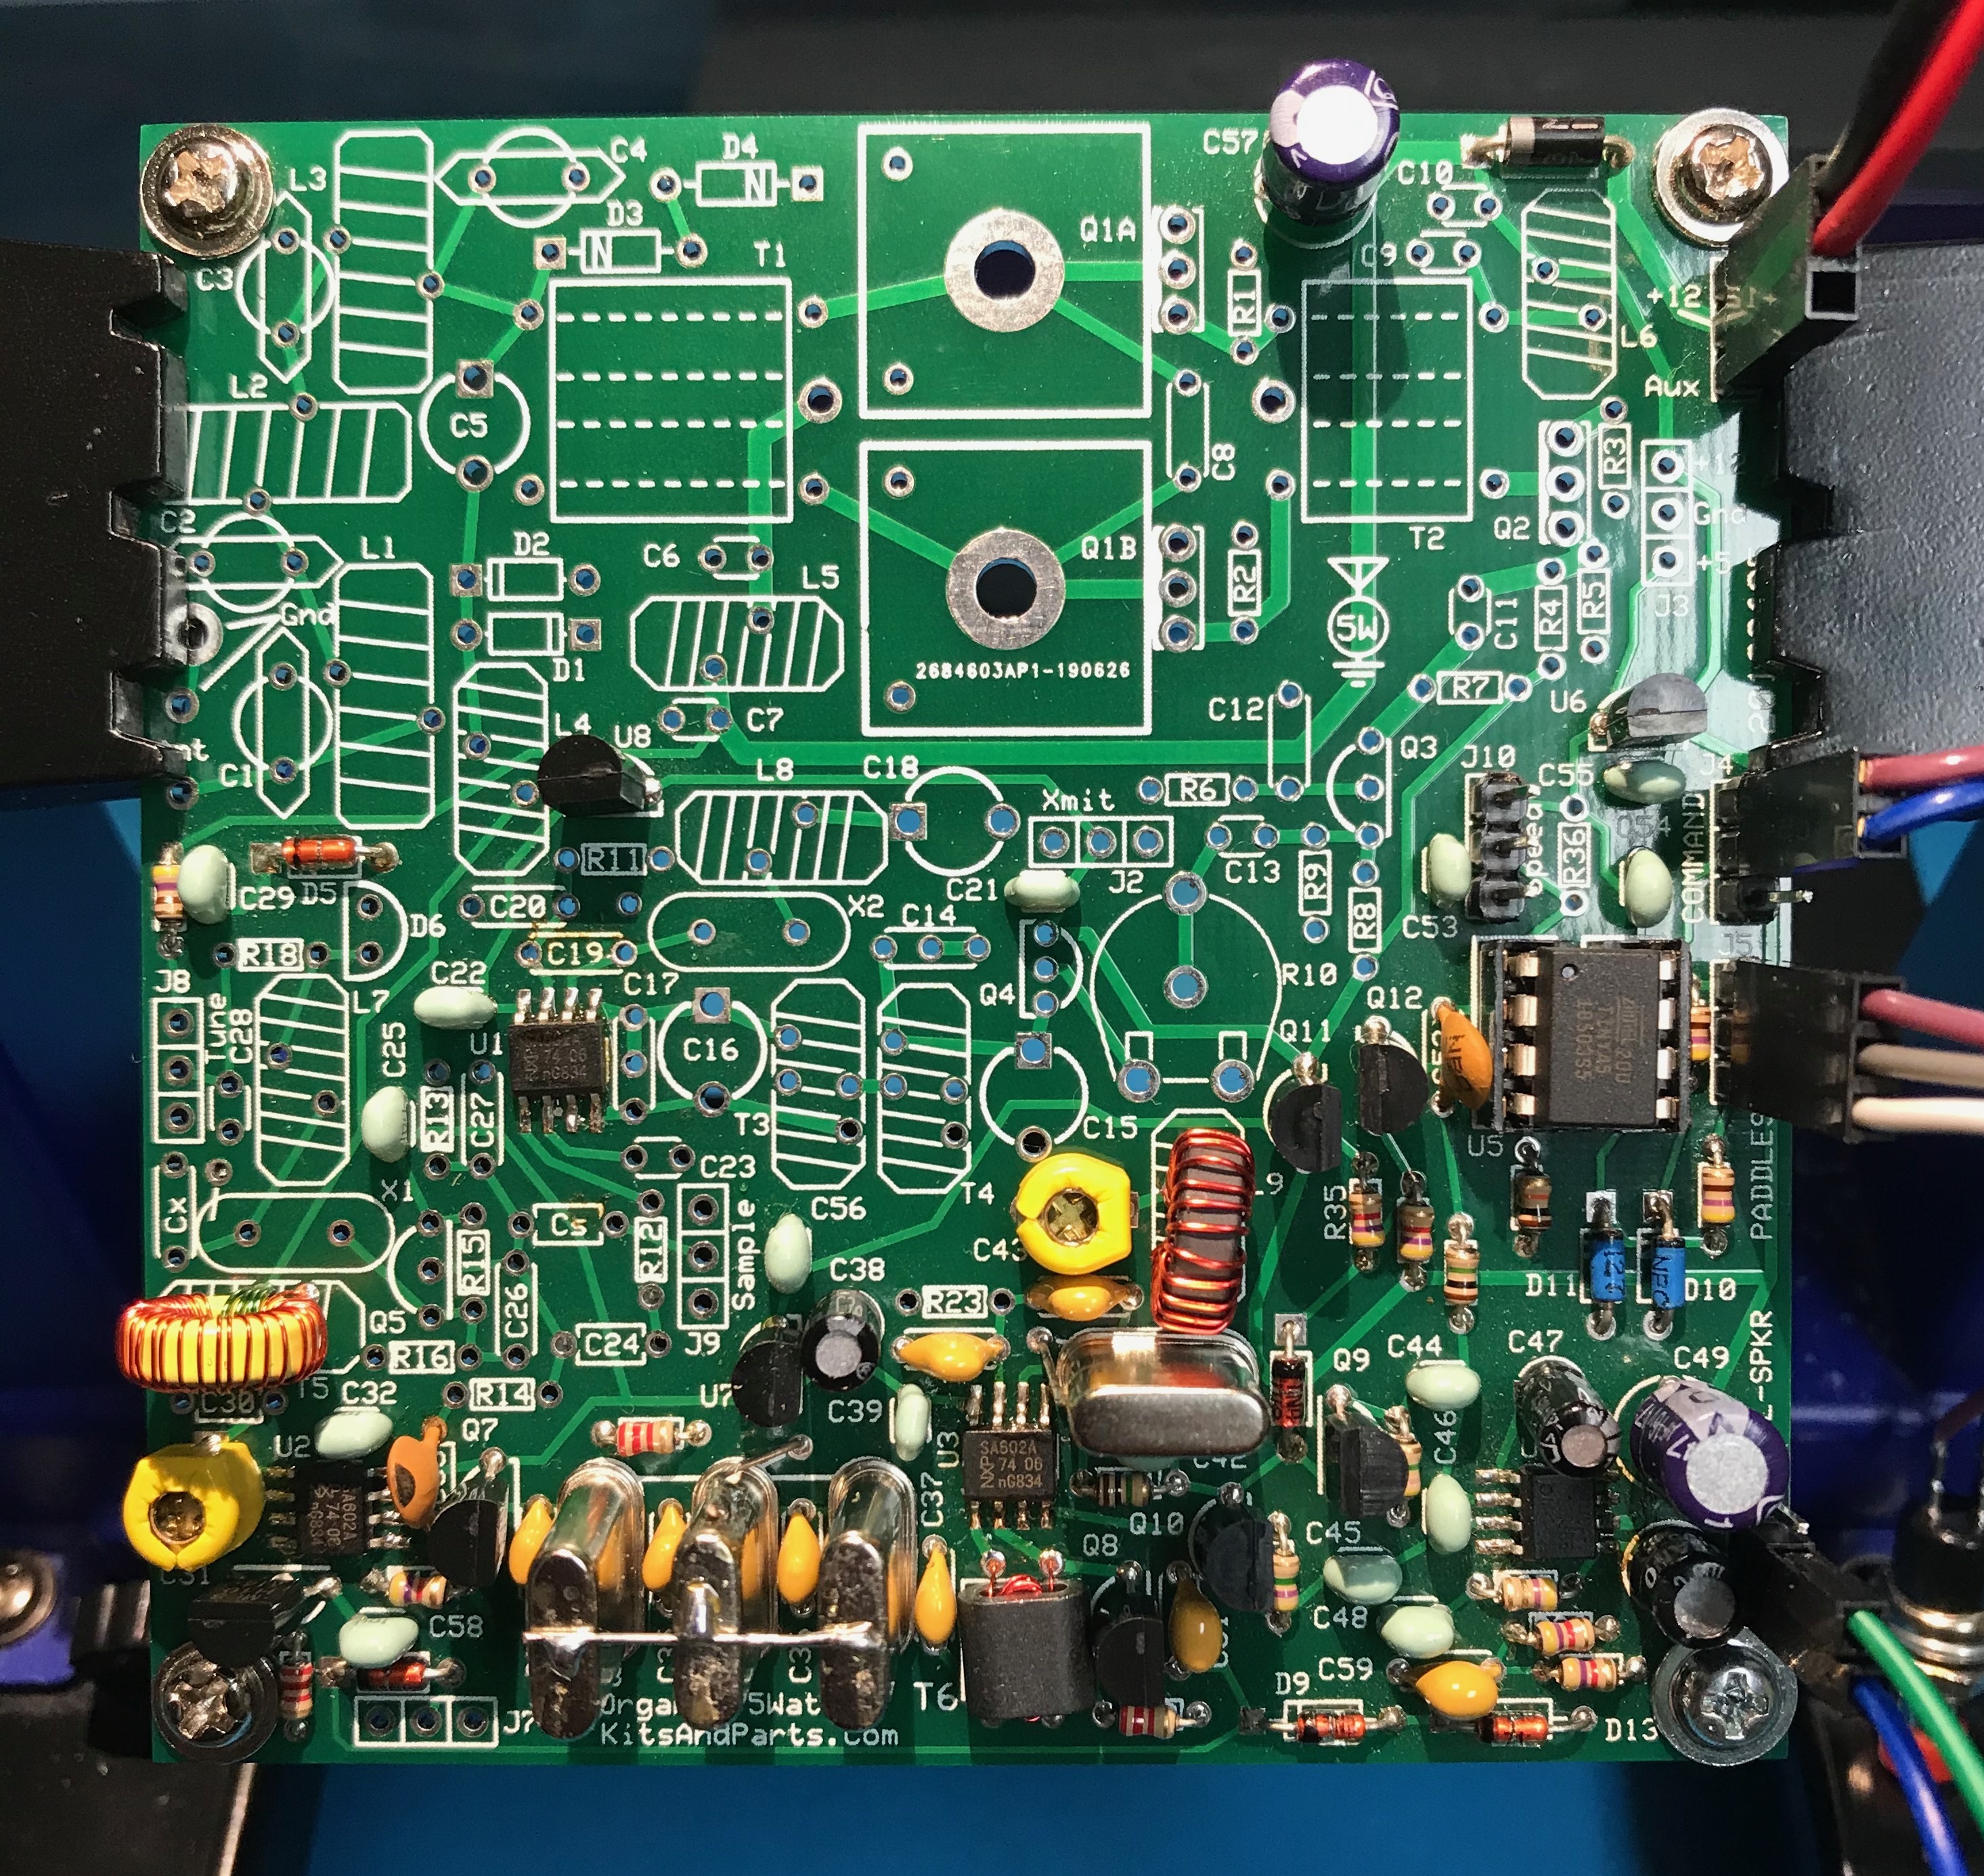
I checked my crystals with a K7QO crystal checker before installing them.
Pay attention to the instructions about grounding the cases of the crystals X3, X4, X5
The second winding on T5 is a bit counterintuitive. You will wind it the same way you wound the first winding. Check the pictures in the guide and the instructions section 8.2.
Testing, touch C30 with test wire, will get louder audio
To clean enamel:
- Sand paper
- Scrape with hobby knife
- Run hot solder blob over it
Alternate approach to counting turns is to wind a bunch of turns and then check actual inductance against expected value. There is toroid information and a calculator at kitsandparts.com you can use to determine the target inductance.
Case
I ordered this case from Amazon
Reasons why I chose this case:
- Gives me some room around the 89mm square board
- Tall enough (maybe barely?) for the Digital Dial
- Looks nice
- Multi-part design I can open up
Digital Dial
I want a frequency read out for my 5 Watter organic transceiver. So, I ordered Digital Dial/Frequency Counter from QRP Guys.
Reasons I chose this unit:
- Chuck, K7QO, used it
- You can set it up to display more digits on 40m
- Low current draw
- Will fit in the case I chose
- I get to build it!
- Option to put configuration button on the back.
K7QO Videos
Besides finding the videos of the 17m build, I found the videos of the 20m build. I added them to my K7QO 5 Watter playlist on YouTube.

